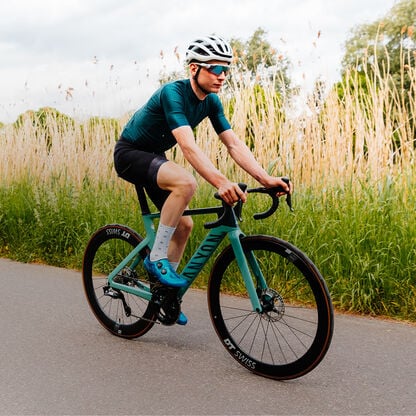
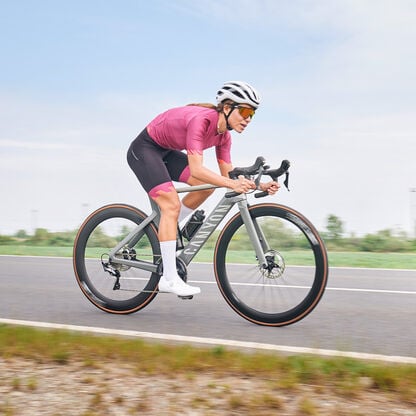
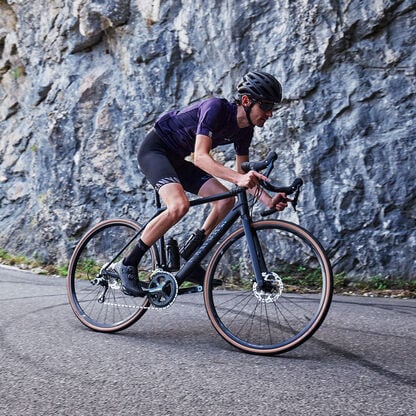
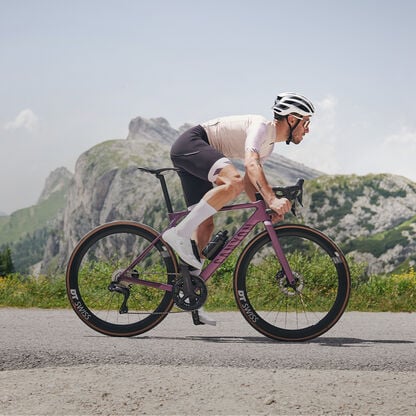
Perfect road bike riding position – Optimize your cycling posture
New bike or coming back from an injury? Here’s how to make your ride faster and more comfortable.

Your ideal road-bike riding position will be determined mainly by three things – the type of riding you most enjoy, the road bike you buy, and the little adjustments you make to that bike. (Still on the fence about which road bike to buy? Check out our road bike buyer’s guide). But what are those little tweaks you can make to your riding position that will help you go from fast to faster? We’ve got you covered - see Canyon pro-athletes' insights on how to get faster on your road bike here.
Contents
Why proper road bike position matters
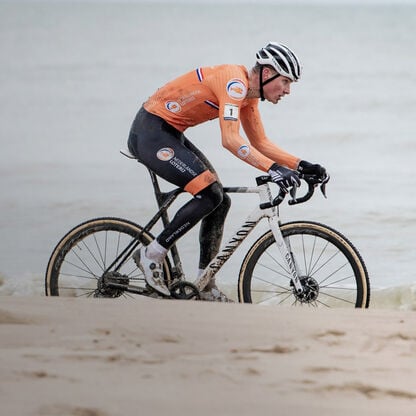
After countless hours spent training and racing, Mathieu van der Poel, Chloe Dygart, and many other Canyon-sponsored athletes can tell if their saddle has been moved an inch or their handlebar angle lowered a few millimeters. Their road bike riding technique and fit are perfectly dialed in to optimize performance. Although you don’t have access to a wind tunnel or a small army of coaches and experts like the Canyon pros, you can still make a series of incremental changes to your ride positioning that will boost your comfort, increase your power, and alleviate potential strains.
How, you might ask? For example, slightly moving your saddle back could increase your wattage while moving it forward could put additional strain on your knees. Raising or lowering your saddle could mess with your preferred pedal cadence or put you at risk of saddle sores. Small tweaks can have big impacts on your riding, for good or bad.
Key elements of a perfect road bike position
What are the three biggest elements to finding the perfect riding position?
Setting your road bike saddle height
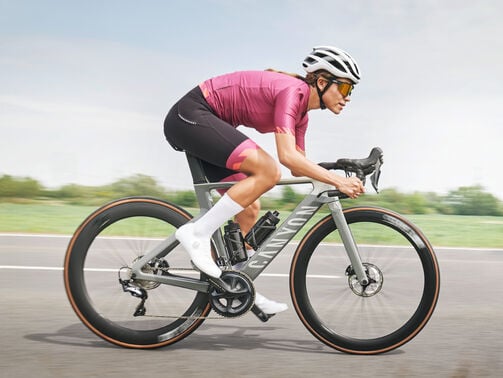
Dialing in the correct saddle height and position will set the stage for the rest of your bike fit. When setting your saddle height, measure 88 percent of your inseam height from the top of the saddle to the parallel pedal closest to the ground. A saddle positioned too low can cause hamstring tightness that could cause a strain, while a too-high saddle will cause your hips to sway more, leading to a loss of power and potentially even saddle sores.
Your sit bones should comfortably rest on the meaty part of the saddle, not near the nose. Although amateurs aren’t bound by UCI regulations, their rules state the seat nose must be a minimum of 5cm behind the center of the bottom bracket; that’s roughly the ideal spot for optimal power production and a good place to start your positioning quest. Be sure that saddle, particularly near the nose, is as level as possible; a nose pointed upward can cause havoc with your power production, while a downward nose won’t provide the support you need and will cause fatigue in your core.
If you can’t seem to get comfortable on the saddle, you may want to consider buying a saddle with a different shape, such as a longer or shorter nose.
Correct handlebar position on your road bike
When sitting on the saddle, you should be able to lean across and put the balls of your palms squarely on the top of your bike hoods (sometimes called the horns). After you get the distance roughly correct, it’s time to position the bars higher or lower.
Setting the handlebar lower allows you to tuck into a more aerodynamic position, which in turn, can help increase your speed. A higher handlebar position is more comfortable, reducing the strain on your back and arms and allows you to get more air into your lungs. Older riders who lose a bit of flexibility with time should probably go for a higher bar position.
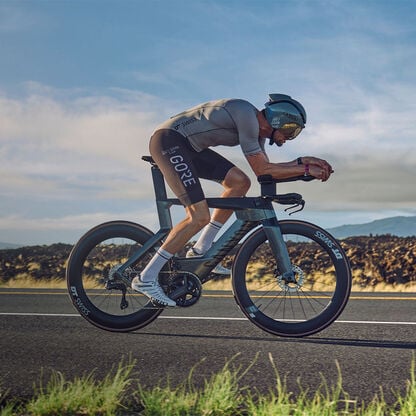
Most enthusiast riders pedal with their hands on the brake hoods the vast majority of the time. But when it’s time to sprint or dive into the corners, experienced riders will want to get lower and into the drops. Being in the drops lowers your center of gravity (which aids your balance) and makes the rider more aerodynamic. It also gives riders more of a “stretched-out” feeling, which can take a bit of getting used to.
Being comfortable in both the tops and drops will likely require some handlebar adjustments. Luckily, many of its road-bike models feature the Canyon CP0018 adjustable handlebar and stem, giving users 40mm of bar width and 15mm of height adjustability, while eliminating the need to saw off part of the steerer tube. For most riders, this eliminates the need to swap out different bars and stems.
If you’d like to take your road bike riding technique to the next level, proper gear shifting can make a significant difference - check out our guide on how to shift gears on a road bike like a pro.
Proper foot positioning and pedal stroke
Your knee should be bent between 25 and 35 degrees at the end of your downstroke for optimal power and efficiency. Ensure your knees are tracking over the balls of your feet; a bowlegged pedaling motion is not only inefficient, but can also lead to pain down the road. You want to be pedaling in perfect circles, not clunkily up and down. Make sure your cycling shoe cleats are at the mid-to-the-rear point of the ball of the foot; having the cleat too far forward or back can lead to foot pain.

The ideal upper body posture for road cycling
So how should you feel on the road bike? Pay specific attention to three zones on your body.
Shoulder and arm position on a road bike
Relax your shoulders; you don’t want them near your ears. Don’t ride with your arms straight and elbows locked out; not only will you feel much more road chatter, but also that stiffness will run up to your shoulders, leading to upper back pain. Instead ride with a bend in your arms and a relaxed upper back. (If need be, raise your handlebars slightly to make this easier.) This is also the best way to prevent hand numbness on a long ride.
Back and spine alignment on a road bike
Relax your back, keeping a straight line between your hips and shoulders. Your core should feel engaged, but not overly so. You also don’t want to feel as if your core isn’t working at all, which could be a sign that you’re putting too much pressure on your hands, shoulders or neck. Engage your lats, which will open up your chest, allowing more air and alleviate some neck and back strain.
Head and neck position for road cycling
By relaxing your shoulders, you’re freeing your head to move around, which is good because you need to be looking out for traffic or for a potential attack during a race. If you feel like your neck is constantly in an extended position, your handlebar might be too low or you’re not properly engaging your core.

How to adjust your road bike for the perfect fit
If it’s a new bike, most adjustments should start at the saddle; incrementally move the saddle backward until it feels right. You may also have to adjust the seat height as you adjust the saddle position. It’ll likely take at least several rides to dial everything perfectly.
If you’re feeling uncomfortable on the bike after you’ve been riding for a while, ask yourself if you’ve made any changes to the bike within the last month or so. I once swapped out a saddle and made two mistakes: I didn’t take into account the difference in padding level, and most importantly, just eyeballed the saddle position instead of breaking out my tape measure. By the end of the first ride, I knew something was off.
Common road bike fit mistakes and how to avoid them
When dialing in your fit, the three most common mistakes are likely to be the saddle positioned either too far forward or back, your saddle height being too long or short, and your handlebar too high or low. If you manage to avoid those using the tips discussed earlier, you should be riding free and easy in no time.
But if you’re still having issues with fit, your best option may be to make an appointment with a professional bike fitter. If you don’t know where to turn, post a note on social media or on the message board of a local cycling club. You’re guaranteed to get recommendations. Many bike fitters even offer lifetime guarantees in case injury or age requires adjustments.
Discover our Road Bikes
Did this article help?
Thank you for your feedback
-
 About the author
Robert Annis
Robert Annis is an award-winning outdoor-travel journalist. As an experienced writer and sport enthusiast he writes content that is inspiring with focus on road biking. You might have read Robert's articles in Bicycling, National Geographic, Outside, Travel + Leisure, Inside Hook, AARP, Midwest Living, Sierra, Hemispheres, Departures, Lonely Planet, Afar, Los Angeles Times, Chicago Tribune, RV Magazine, and Hidden Compass.
