How to install cycling cleats on your shoes: a step-by-step guide
Whether you’re new to clipless pedals or you’ve been riding with them for years, installing or replacing cycling cleats can be a tricky task. This guide will walk you through the process step by step and help you to troubleshoot any issues that might come up along the way.


As with many things in the bike world, cycling cleats and clipless pedals can seem a lot more complicated than they are. While there are consequences to getting cleat positioning wrong, they are easy to correct if you know what to look for. We hope this guide will help make the process as simple and pain free as possible.
Contents
What are cycling cleats?
If you’re using clipless pedals, your cleats are one of the most important parts of your set-up. They are the piece that attaches to the base of your cycling shoe and ‘clips’ into the pedal. If you are new to using clipless, you normally get a set of cleats when you purchase a brand new pair of pedals, but if you are replacing a worn set then you’ll need to buy some cleats from your local bike shop or online retailer.
There are two main styles of cycling cleat: 2-bolt and 3-bolt. 2-bolt cleats are smaller and more commonly used for mountain or gravel riding, while 3-bolt cleats are typically used for road bikes. They are termed as such because of how they attach to the bottom of your shoe, so be sure to check that your shoes are compatible with the cleats you’ve chosen.
For more information on whether going clipless is right for you, be sure to check out our guide on flat vs. clipless pedals.
Importance of proper cleat installation
Being one of only three touchpoints on your bike, and the only one where you are physically attached to it, it is very important to get your cleats in the correct position. Incorrect cleat installation can lead to discomfort while riding and even injury if left uncorrected, especially if you are already prone to ankle or knee problems.
Luckily, cleat position is easy to correct even once they’ve been installed, so don’t stress if you don’t get your cleat position exactly right the first time. After installing your cleats, take them for a quick spin on your trainer or around the neighbourhood to identify any issues and then make any necessary corrections.
Tools and materials required
Before you start, there are just a few things that you need to properly install any style of cleat. Gather your shoes and cleats, and make sure that your cleats have all the required bolts.
You’ll also need an Allen key (most cleats use a 4mm, which you can find on our neat little Canyon Minitool), grease, a permanent marker and a torque wrench. Cleats only need to be torqued to 5 or 6Nm depending on the brand, so a small preset torque wrench will suffice.
If you’re installing cleats for the first time, or installing them on a new pair of shoes, you may want to have some masking tape on hand if you’re averse to marking your shoes with a pen.
Step-by-step instructions for installing cycling cleats
Once you’ve gathered all the things you need, and double checked that your cleats are compatible with the shoes you’re planning to install them on, you’re all set.
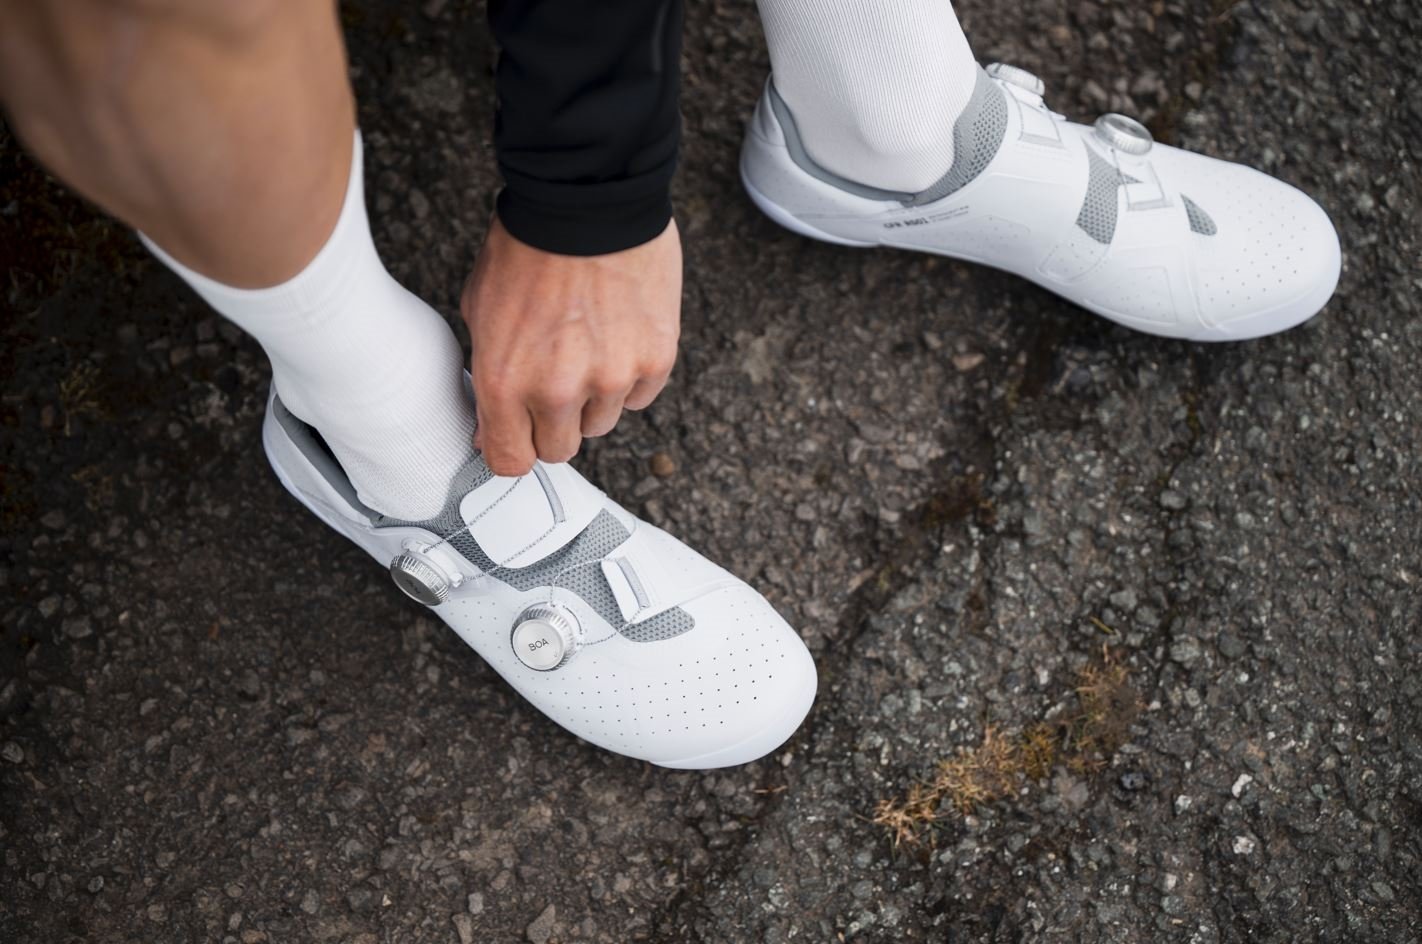
Step 1: Prepare your cycling shoes and cleats
First, put your shoes on. Identify the protrusion behind your big toe and mark it with a pen or a piece of tape. Then, find the protrusion on the opposite side of your foot, behind the little toe and mark it as well. Turn the shoe over and continue the lines over the sole of the shoe.
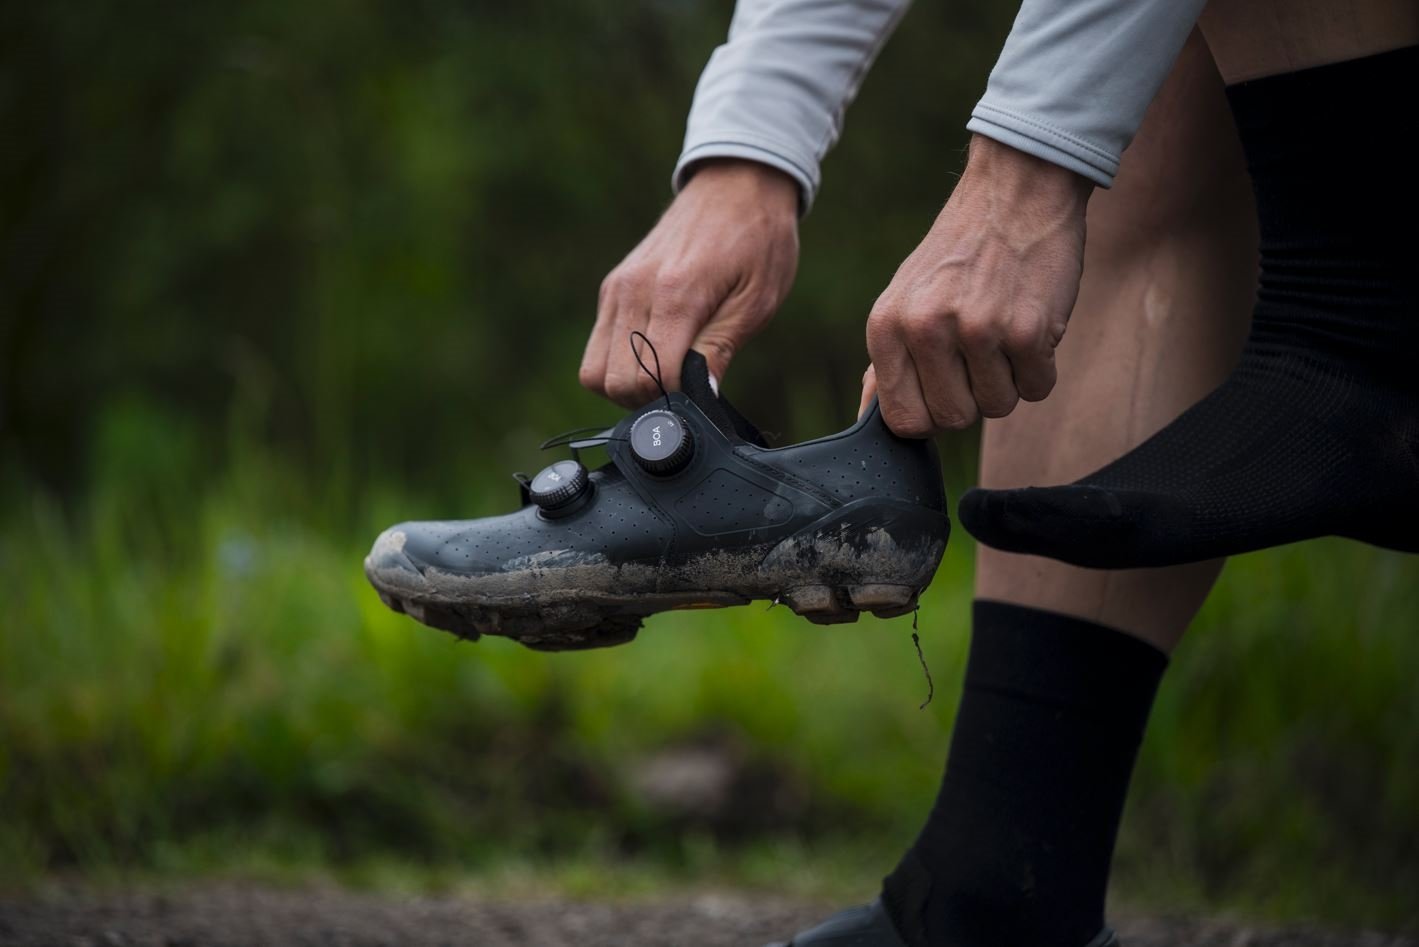
Before lining your cleats up, put the plates on your cleats and grease your bolts.
Step 2: Positioning the cleats
Centre the cleats between the two lines you’ve made and loosely attach them to the base of your shoe. Don’t torque them down just yet, they should still be able to move so that you can adjust.
Step 3: Aligning cleats with your feet
In general, your cleats should be below the ball of your foot, so that you can transfer your full power into your pedals. However, if you find that your feet go numb or you’re prone to cramps in your calves, you may want to shift your cleats backwards just slightly.
Next, clip into your pedals, either on the trainer or holding yourself up against a wall and check how your feet and knees line up. If your heels point too far inwards or outwards, gently angle the rear of the cleat in the direction you want your heel to point. Similarly, if your knees fall in, move (don’t angle) your cleats outwards, towards your little toe. If your knees fall out, move your cleats inwards, towards your big toe.
Make these adjustments incrementally and make sure to check between each adjustment.
Step 4: Securing the cleats
With your cleat position set, tighten down your bolts and torque them as specified. With that, you’re ready to go!
When should you replace your cycling cleats?
No matter what style of cleat you use, they all wear down and will need to be replaced occasionally. The indicators of wear vary across styles of cleat and are generally easier to spot on plastic 3-bolt cleats than they are on the metal 2-bolt varieties. Here are some signs to look for that will tell you when it might be time for a new pair.
- Misshapen, bent or cracked cleats: This is more typical on 3-bolt cleats as the plastic wears more visibly and is often seen on the points of the triangular shape. If your cleats are thinner than they were originally, or if the damage is affecting your clipping in, it’s time for a new pair.
- Difficulty clipping in or unclipping: This one applies to all styles of cleats but is often the biggest clue that 2-bolt cleats need to be replaced. If you’re having consistent issues getting in or out of your pedals, first check for anything stuck in your pedals or shoes. If there’s nothing, then get yourself a new pair of cleats.
- Unclipping too easily or when you don’t mean to: This can occur to 2-bolt cleats that have gotten too worn. If your cleats are relatively new, make sure to check your pedal tension and float first but if your cleats are a year old or more, it’s time for a new pair.
The biggest cause of cleat wear is usually walking on them, particularly if the surfaces you’re riding are rough and rugged. Check out our beginner’s guide to gravel cycling for some tips on staying in the saddle.
Tips and tricks for proper cleat installation
Cleat installation is fairly simple once you’ve gotten the hang of it, but here are some tips and tricks to make the process even easier.
- If you’re replacing cleats that you’re confident are in the correct position for you, first trace the cleat with a marker (or outline it with tape if you don’t want to draw on your shoes). Then, remove the old cleats and line up the new ones with your outline. Some cleats, specifically Shimano SPDs, have ridges in the cleat that will mark the bottom of your shoe so that you can easily fit your new cleats into the impression left by the old ones.
- Don’t be afraid to make corrections. While the installation part is simple, lining the cleats up can be tricky so don’t worry if it’s not perfect on your first try. Instead, take note of the issues and make small adjustments until you’re satisfied.
- If you’re installing cleats for the first time, make sure your first ride out on your new cleats is a short one. If it’s an option, try them out on your trainer first.
Common mistakes to avoid
There are a few common mistakes that people make when installing cleats. Luckily, they’re all easy to avoid once you know what you’re looking for.
- Angling your cleats too drastically. Generally, when changing anything about your position on the bike you want to make small adjustments to avoid throwing things too far off. This also applies to cleat position. When angling cleats, do so in small increments and let your cleat float do most of the work.
- Not greasing your bolts. This might seem like a small one but trust us, you’ll be happy you didn’t skip it when you have to replace your cleats down the line.
There it is. You now know everything you need to about cycling cleats, but remember – cleats may give a performance benefit, but they aren’t for everyone. Our city bikes and hybrid bikes are intended to be used with flat pedals and your regular shoes – and just because it’s the convention, that doesn’t mean you need to be clipped into your road or gravel bike to get enjoyment out of your rides. Do what feels best for you. Check out our comprehensive guide on how to choose the best cycling shoes for ultimate performance.

Discover our Road Bikes


Did this article help?
Thank you for your feedback
Related Stories


