Fixing cracking sounds and noises
Noises can occur where different parts join, such as weld seams or screw joints. Carbon fibre frames are especially prone to generating loud noises. Normally, these noises can be diagnosed and remedied very quickly and easily.
Fixing cracking sounds and noises
-
Pedals
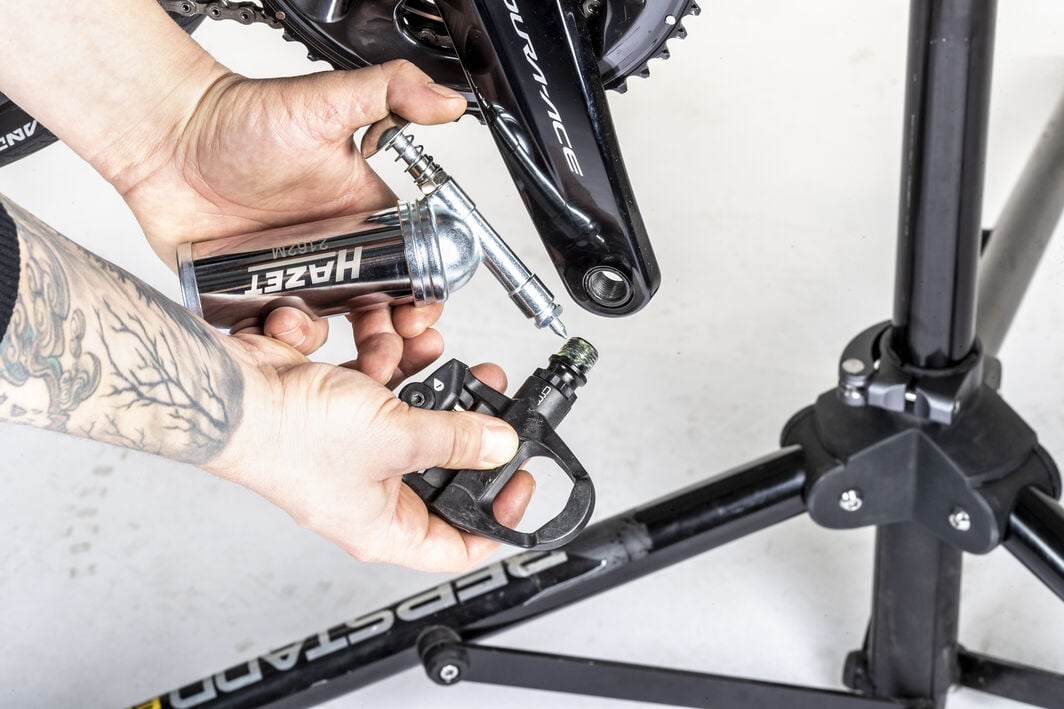
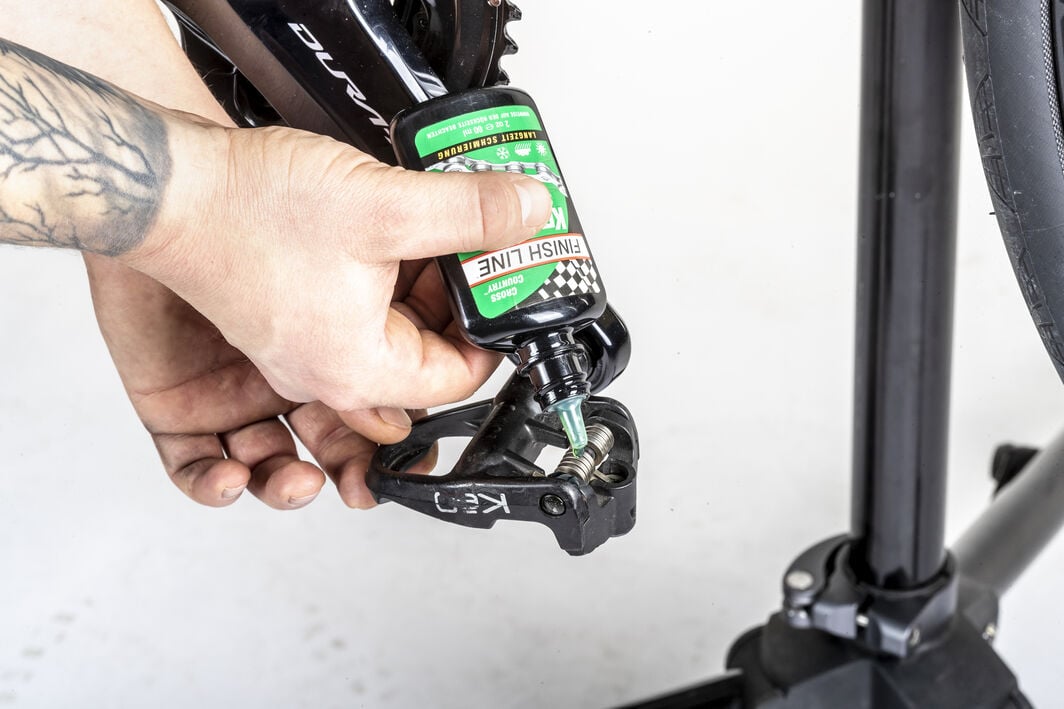
Remove the pedals and apply grease to the threads. Image 1 Re-tighten the pedals after the first ride. Check that your cleats are screwed into your shoes with the correct torque. Apply some grease to the cleats and replace worn-out cleats at an early stage. If the pedals have screws, apply some grease to the contact points to avoid creaking. Image 2 Check if your cleats are showing signs of wear – you need to replace worn out cleats at an early stage. -
Quick Releases
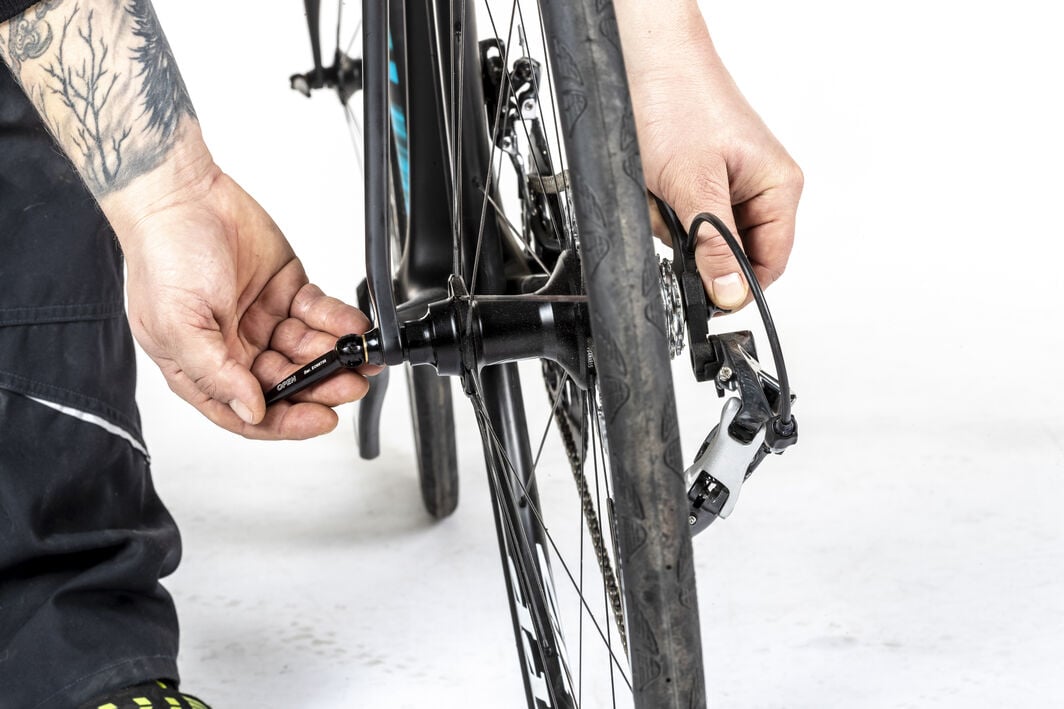
Make sure that the quick releases are closed and tightened with sufficient force. Image 3 Make sure that through axles are correctly closed and greased. -
Saddle and Seatpost
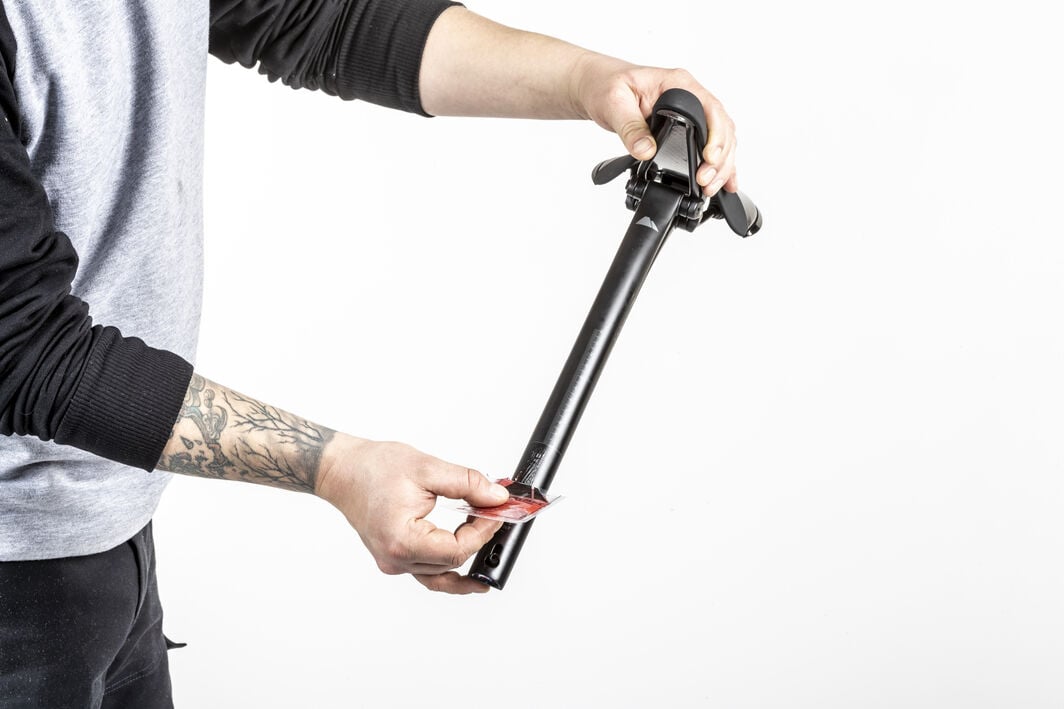
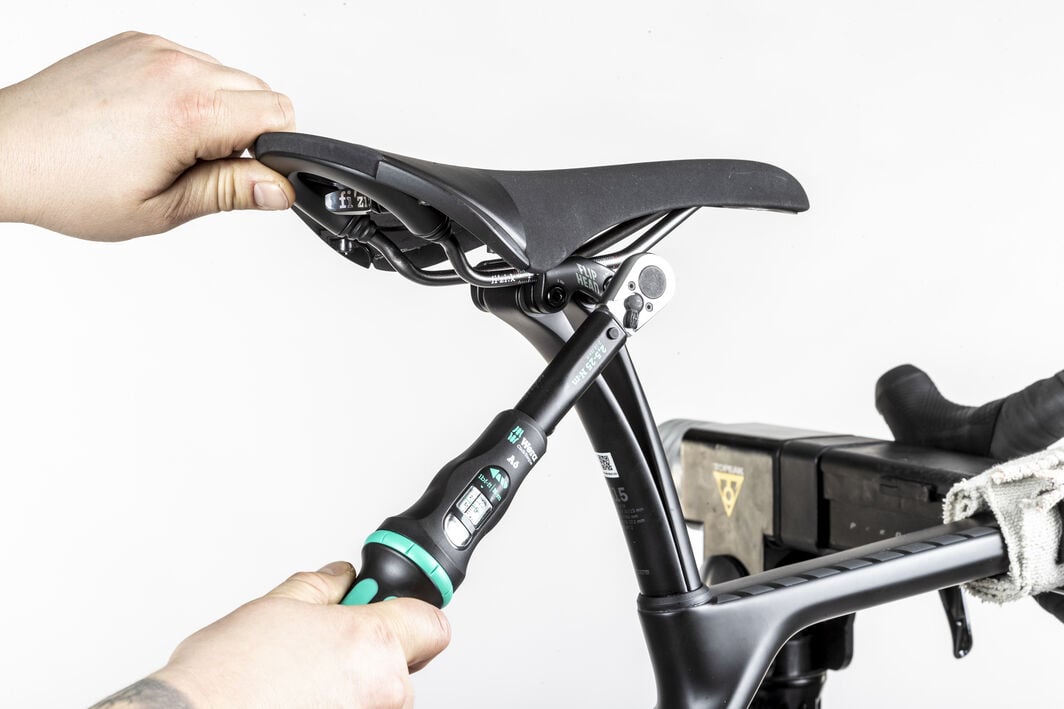
Check that the seat clamp is tightened with the correct torque, and that the seat post is inserted far enough into the seat tube. If you have an aluminium seatpost and frame, apply sufficient grease to them. If the seatpost or frame are made of carbon fibre, do not apply grease to either of these components. Instead, use carbon assembly paste. You also need to check the seatpost head. Image 4 and Image 5 Seatposts with a titanium head are liable to generate creaking sounds. You can prevent noises by spraying wax on this contact point – it dries quickly, and doesn’t attract dirt. -
Derailleur Hanger
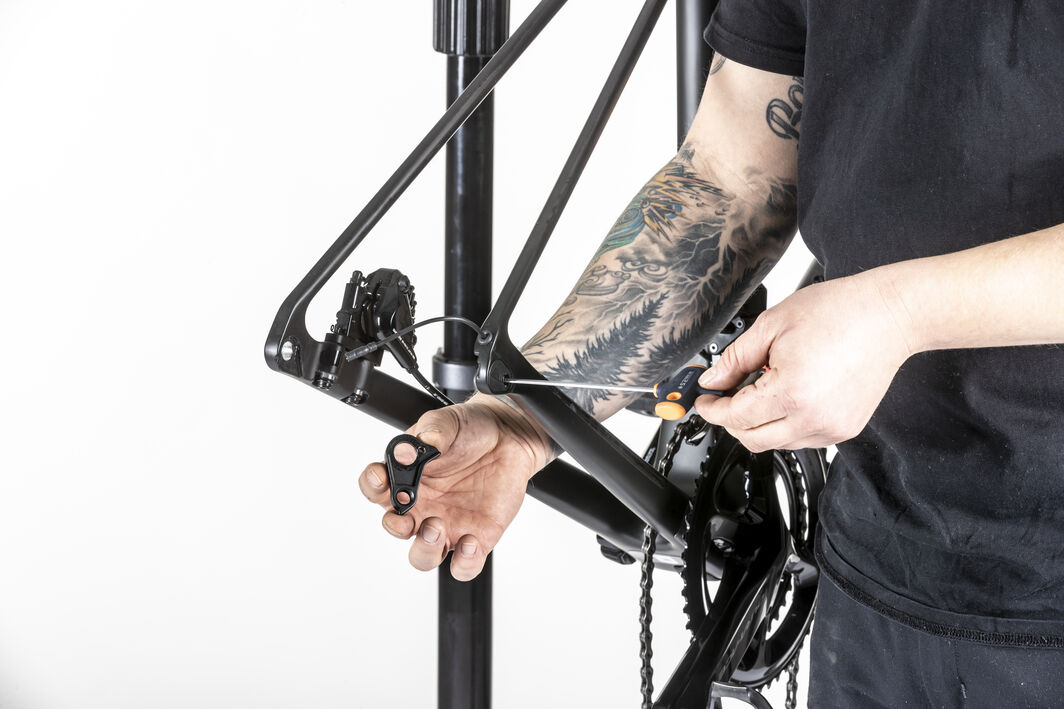
The derailleur hanger is often the source of noises. Dismantle the hanger and apply grease to the contact surfaces. Image 6 -
Cockpit
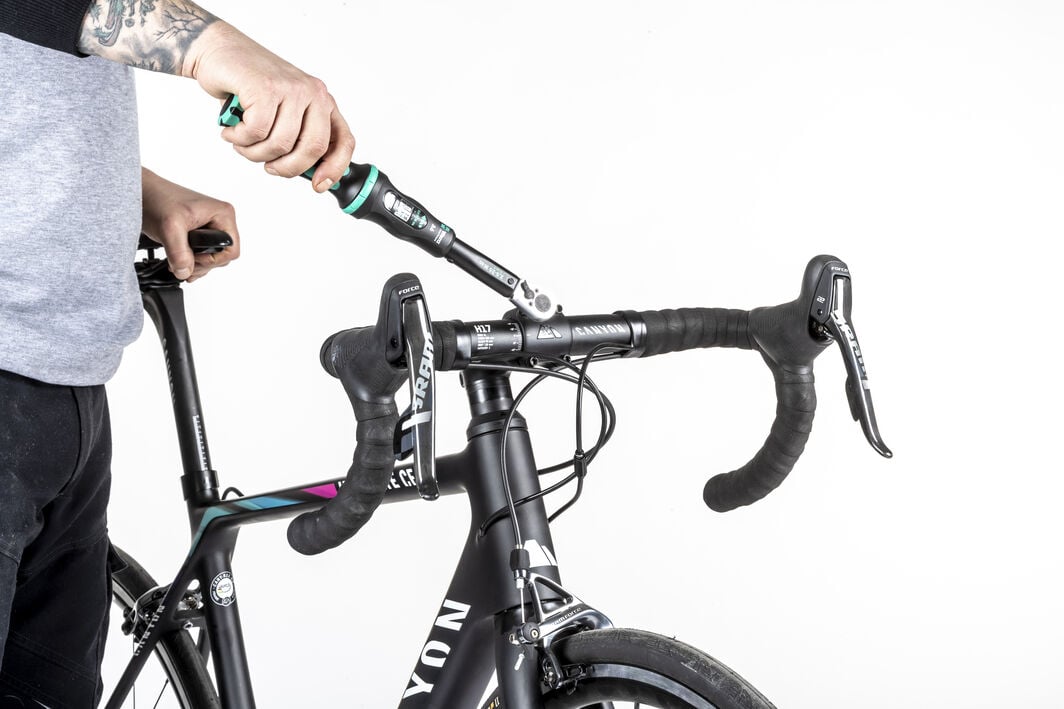
Check that the stem, brake levers, and gear shifters are tightened with the correct torque. Only apply carbon assembly paste to parts which are made of carbon fibre. Image 7 -
Cables
Check that your gear or brake cables are not hitting against the frame or other parts of the bike. If they are, secure them to the frame using cable ties. If your gear cables are routed through the frame, there might be noise from the point where the cables enter the frame. Apply some grease to these contact points. -
Bottle and Bottle Holder
Check that the bottle cage screws are tightened with the correct torque. -
Chainring Screws
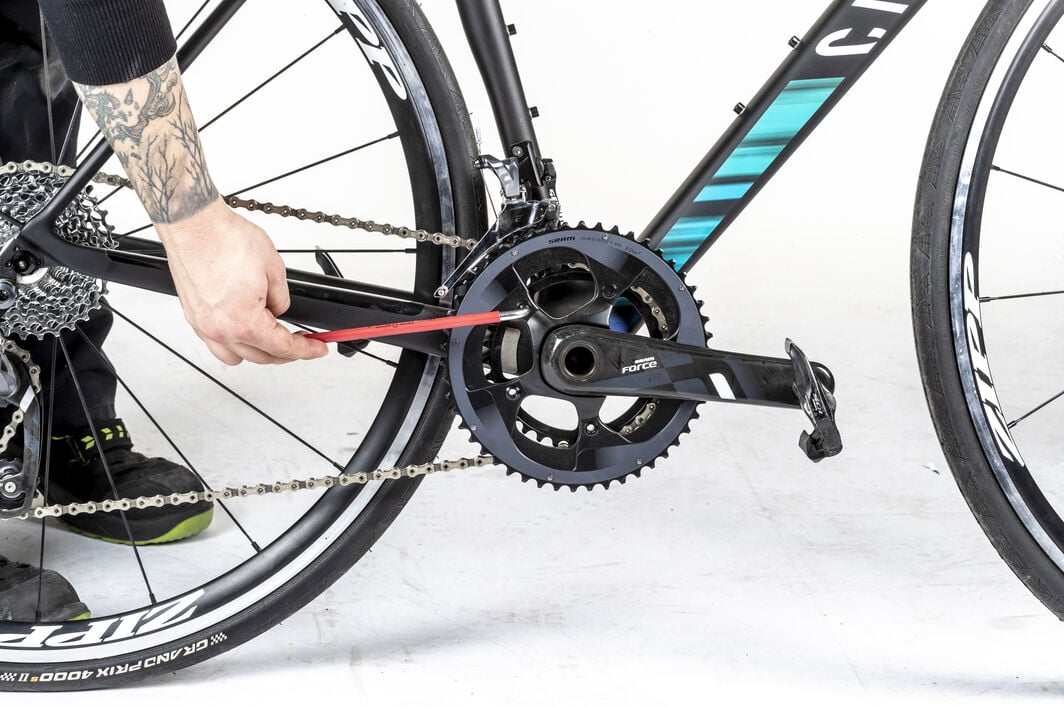
Check that the chainring screws are tightened with the correct torque as well. Image 8 -
Spokes
Spokes can cause noises if your wheels are not properly centred.
Caution: Ensure that all bolts and screws are tightened to the correct torque. The correct torque is indicated on the component itself, in the bike manual provided with your new bike, or here in the Technical Support Centre.
Danger: In many cases, noises can come from defects on the frame or fitted components. Check your entire bike carefully for cracks or other damage. If this is the case, please contact Canyon support directly. Página de contactos
